E-commerce business is evolving, and Shopify makes it easier for you to win the battle on how to build a website that makes you stand out from others.
Even if you have a great product idea, you wonder how to sell it. You no longer need to worry about finding an experienced web developer to get started and make a website on Shopify.
You can do that independently and set up an online store within minutes. More importantly, you can play with this platform by signing up for a 3-day free trial and Building a Shopify Website for your dream business at Rs 20/month.
This guide will provide a step-by-step roadmap for building a website and selling online to the world.
Here is the step-by-step guide on how to Build a Shopify Website-
Before creating a Shopify website, you need to know the underlying goal as to why you need a website. Setting SMART goals determines your long-term vision and helps you create the best website you ever imagined.
Building a website on Shopify has different goals, such as –
Of course, you can set more than one goal for your website. Remember! You need a strategy before you pick any of the goals mentioned above. More importantly, outline the super detailed goals and be as specific as possible.
For Instance – If the goal of creating a website with Shopify is to sell physical products.
Now, you need to ask yourself how you would sell it. Will you offer a seamless navigation interface for visitors to browse your collections? Or probably you are thinking of offering lucrative discount schemes.
Making your goals super specific helps you create a successful website.
Head over to Shopify.com, sign up on Shopify, and start your 3-day free trial, which is mentioned in the upper right-hand corner of the Shopify website.
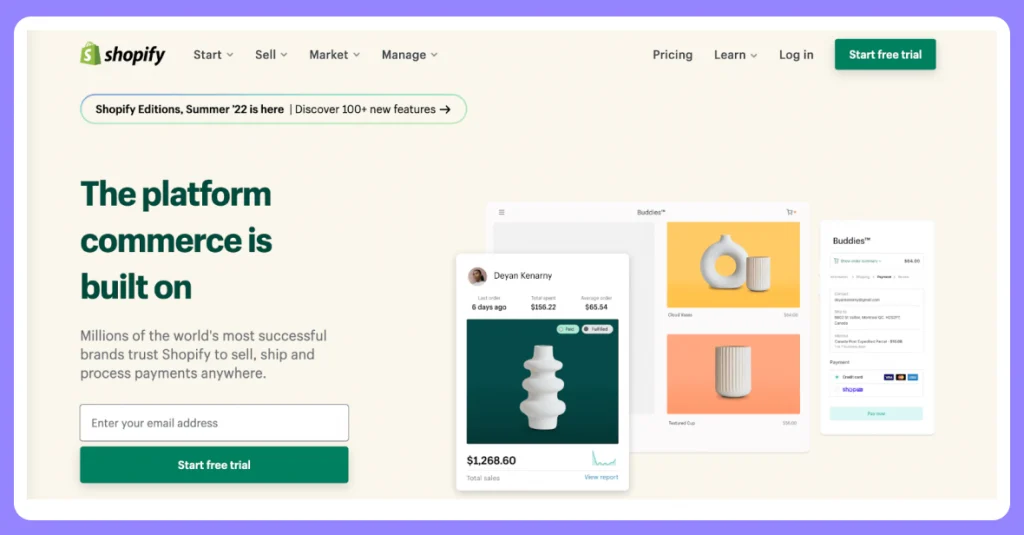
Once you start your free trial, you must fill in details such as your email address, choose a store name, and some basic information about your business.
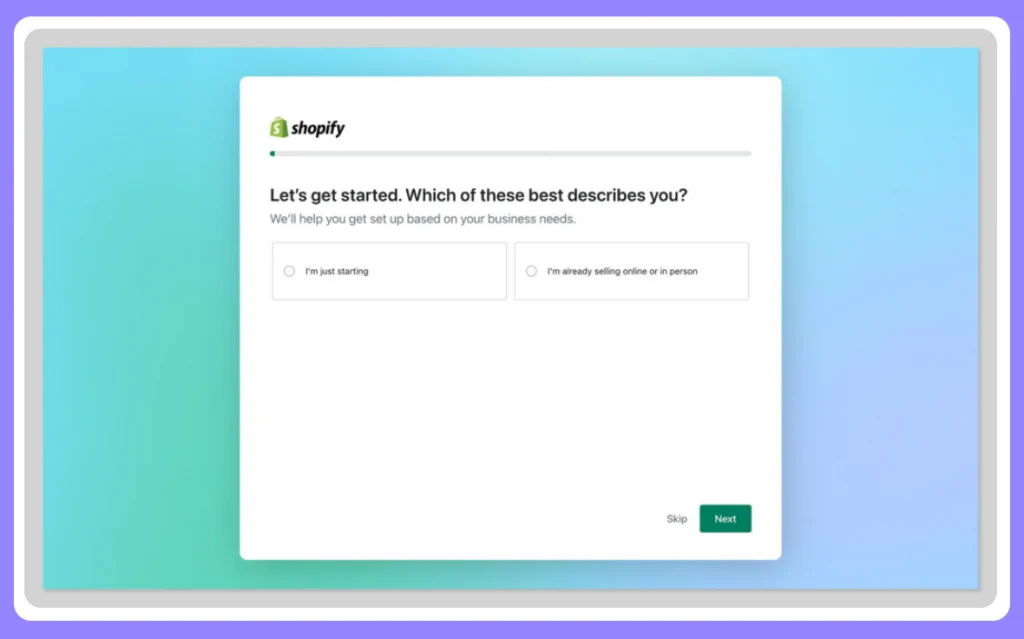
You need to choose a unique store name because Shopify won’t allow you to purchase the domain with a duplicate store name.
Make sure to save this information because it will prompt you to enter the same details when you log in again to your Shopify account.
Completing the first step is quite simple and will take a few minutes. Once you enter these details, you need to click on the “Create your store” button.
After creating an account on Shopify, your free trial starts immediately.
After that, you will be taken to the Shopify admin panel or dashboard.
If you are a beginner in Shopify, you need to get the hang of this platform and learn how Shopify admin works.
Shopify has made it easy for beginners by providing a set-up guide section. The “set-up guide section” lists important steps you need to perform to set up your Shopify store.
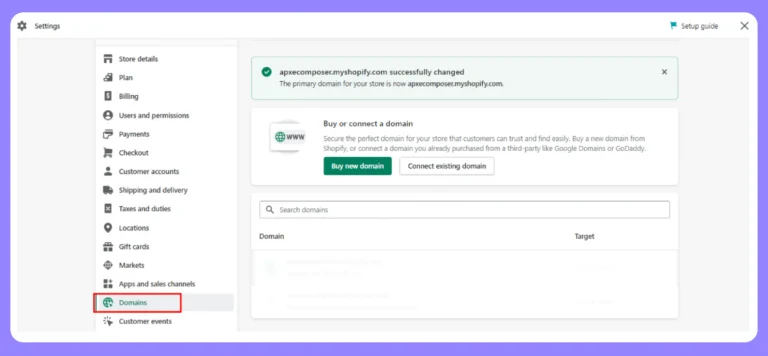
Now, you need to click on the Settings tab and set the primary settings such as select your currency and set up your time zone. In addition, the Shopify admin panel allows you to customize your online store, add products, shipping analytics, etc.
With web hosting, it becomes easier for you to make the files visible on the web, such as images, code, audio, etc. It might seem a daunting task for you to choose a reliable hosting server.
Research what you want from a hosting server, such as email accounts, storage, and other services.
Look for various things before choosing a hosting server-
Shopify offers a free domain and unlimited web hosting for new websites.
Simply put, a domain name refers to the website URL that makes it easy for people to find your business.
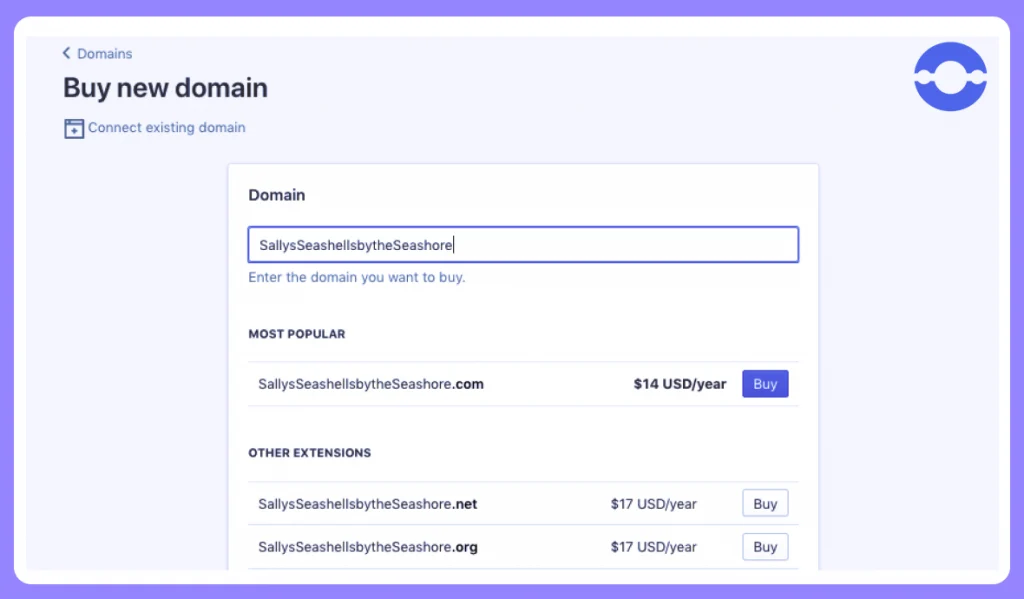
As and when your business grows, you need a custom Shopify store domain name to help your new customers discover you online. You can get creative while choosing domain names for your business.
With Shopify, custom domains start at $11 per year.
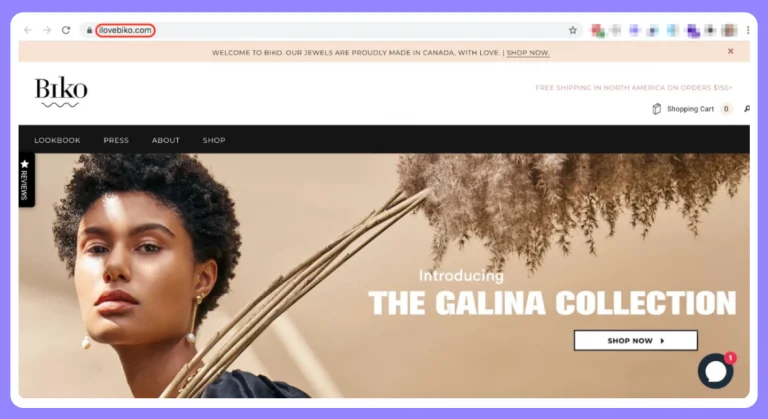
For Instance – Biko, being an online fashion brand gets creative while choosing a domain name (ilovebiko.com), and it’s quite relatable for customers to remember its domain name.
Here are some tips to help you choose the best domain name for your business-
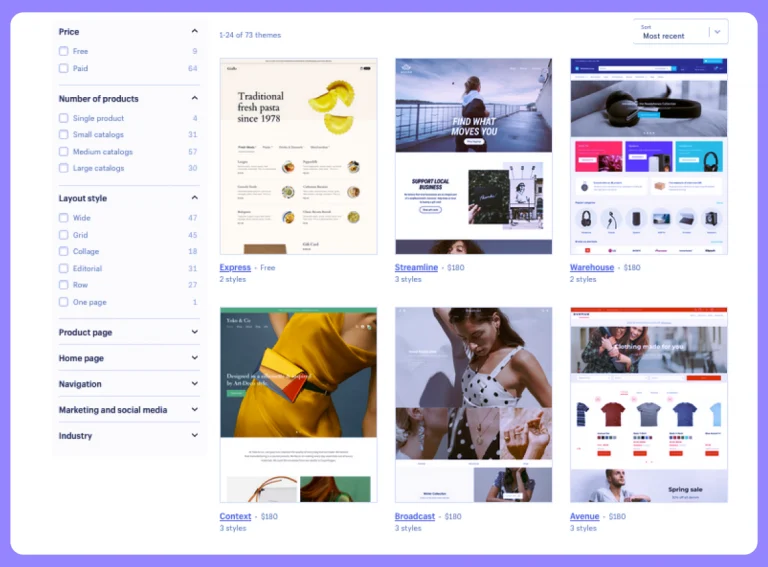
Shopify provides you with a default theme. You can give a distinctive look to your store with the help of Shopify themes. Shopify themes provide a new look and feel to your online store.
You can find free and paid themes and modify those themes without touching lines of code.
The Shopify theme store consists of 70 paid and free themes. You can customize the image and text in every theme, but you can’t do more customizations.
With Shopify themes, you don’t need to spend bucks on hiring an expensive designer team to create professional designs that stand out. Browse through the theme library and choose from free and paid themes.
If you want to choose a free theme, you need to perform the following steps-
Go to the online store — Select a free theme.
After that, you can add the theme to your online store by clicking the “add theme” button.
All the themes are generic, but if you want to customize the theme to align with your brand goals and business requirements, you can do so.
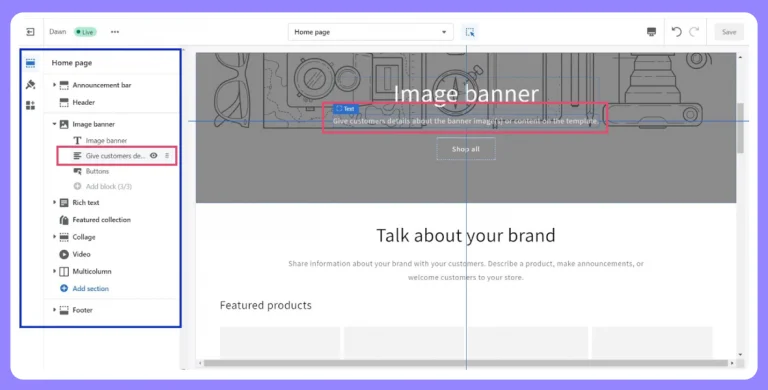
Head over to the “customize button” under themes, and you are good to go in adding, removing, or hiding sections while designing your online store.
With premium themes, you can make some extra modifications regarding how your website looks. But, if you lack coding expertise, you can hire an expert Shopify developer.
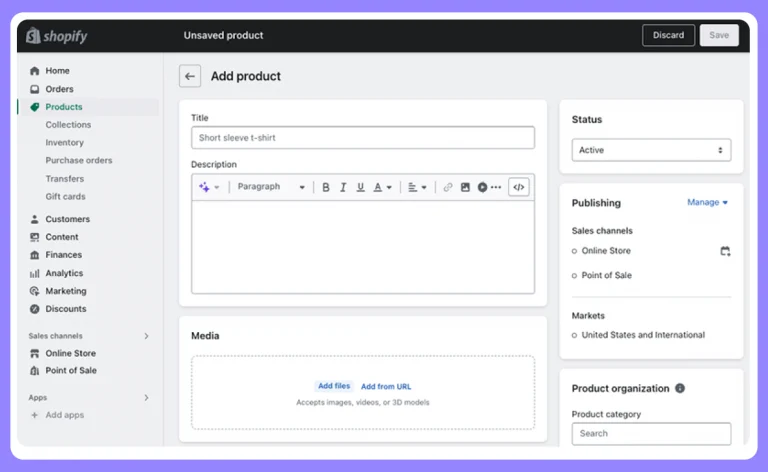
The next step in building a website on Shopify is adding products and services to your site. To add products to the Shopify admin dashboard, head to the products section and select “add products.”
Furthermore, you must add information about the products you want to sell.
Here, you need to add a few things –
Make sure to add product information from an SEO perspective so that viewers can find your products on the go.

You might have various categories of products. So, consider organizing those products into various categories and groups to make it easy for you. The easier it is for your prospects to find the products, the higher the chance for you to convert them.
Organizing your products in collections means customers won’t have to go through the whole catalog. On the Shopify admin page, head to the products page and select collections.
Now, click “Create collection” and enter the details of the collection title you want to include in your product groups.
When creating a website on Shopify, you can group the products in either of 2 ways-

After displaying products on your website, you need to enable payment options. Setting up payment options allows you to collect payments from your customers.
Remember! You need to choose the right payment gateway for you because every payment gateway charges you a small transaction fee as and when someone makes a purchase through your website.
Shopify payment is available to stores in limited countries; if you live in a country that does not support a payment gateway, you need to rely on a third-party payment gateway.
To activate Shopify payments, click on settings and then select payments present in the left-hand menu bar.

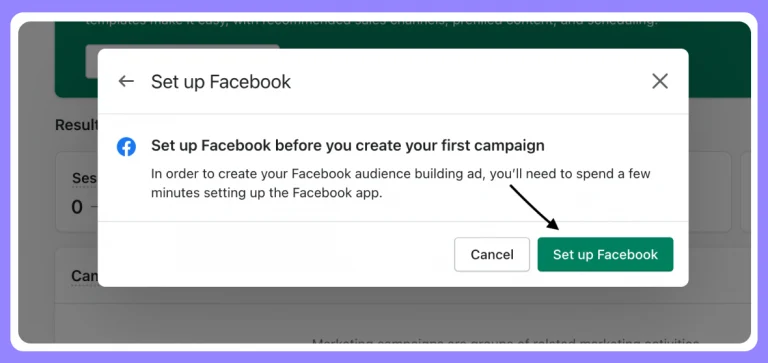
Now, it’s the perfect time to launch your online store. You can now start selling the products by setting the marketing campaigns and heading to marketing on the left sidebar of the Shopify admin dashboard. Here, you can also create and run Google and Facebook ads and track the results from time to time.
Then, select campaign options such as ads, email, or social campaigns.
Also Read: Guide To Shopify Theme Development
Now, you understand how to build a website on Shopify and start selling online. Following the above steps can help you build a successful website with Shopify and get your first few clients.
Setting up an online store using Shopify is a perfect fit for site builders as it provides a user-friendly interface and various customization options.
Although setting up your first shop on Shopify isn’t free, it’s worth your money. More importantly, you can create a fully functional online store in a few days.
Want to take your business to the next level?
We make it possible for you by providing an optimal shopping experience that delivers guaranteed results for your business.
Having served 80+ Shopify app development clients, we aim to create a Shopify website that brings more revenue and traffic to your business.
Need help in providing a superlative experience to your customers?
•
Sr. Technical Writer•
Articles